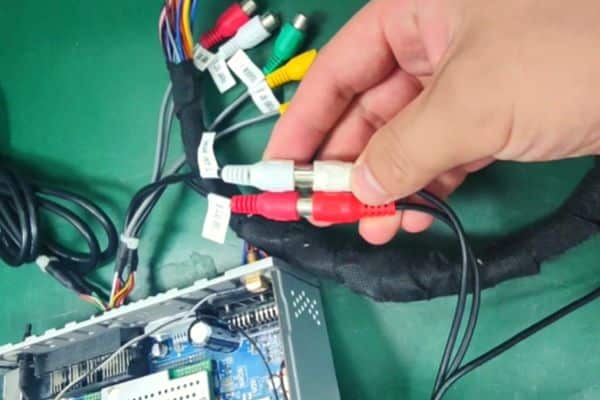
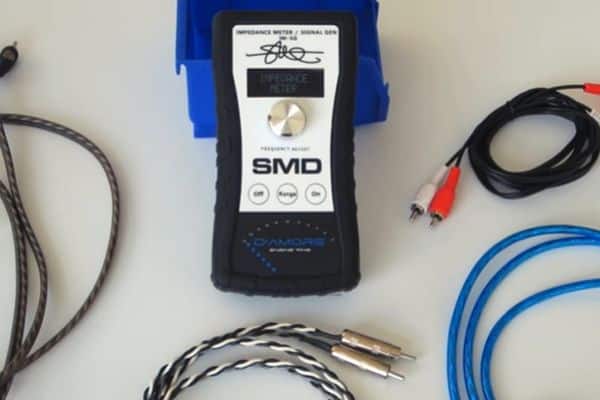
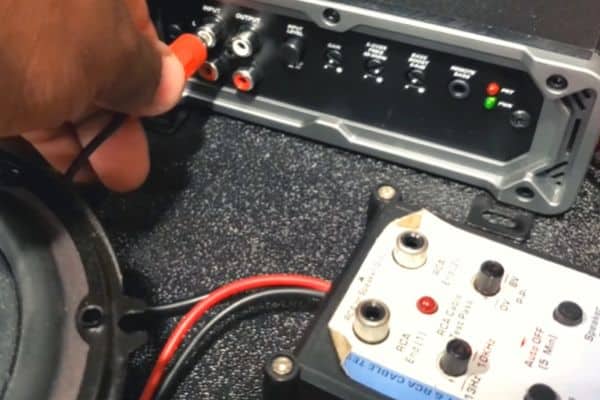
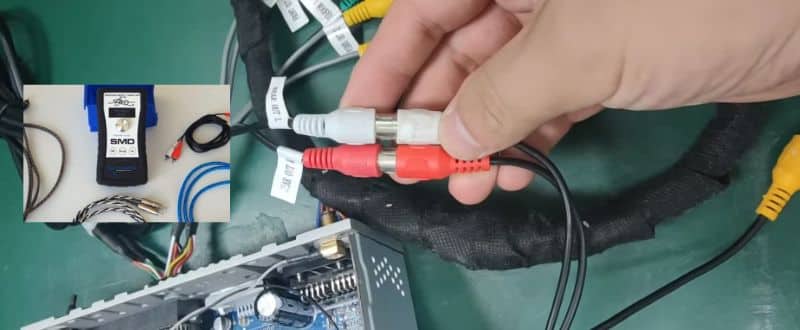
If there's no sound coming from your vehicle's stereo, the problem might be in the RCA sockets and cables. In this case, you must know how to test RCA output on head unit to detect the issue.
To test the RCA output, first, visually inspect the RCA sockets and cables for damage. Next, you can switch the RCA cables and use another pair to see if the problem is within the cables. Finally, using a multimeter or phase tester will allow you to check whether the RCA output is working or not.
Let's get into the details and find out RCA output of your car's head unit in the easiest ways.
In This Article
Testing RCA Output On Head Unit In 4 Easy Methods
A visual inspection will reveal the issue with your car's RCA output if you're lucky. As switching the cables takes only a few minutes, you should try this method first before you go for more complex ones like testing with a multimeter or phase tester.
Here are our easy-to-follow guides for each method:
Method One: Visually Check for Damage
Start the inspection with the RCA cables. If you're used to connecting and disconnecting the cables regularly, it's possible that the cables have come loose or stripped off. Check the cables for any type of damage and see if the insulator is intact.
Sometimes the damage is internal although the external sleeve is intact.
In that case, you can strip off the insulator with a wire stripper to inspect the positive and negative wires.
Pay attention to the joints where the wires connect to the jack.

You must check the tip and outer ring of each RCA cable for visible damage. Also, inspect the RCA sockets on your head units for mechanical damage or dirt buildup.
Method Two: Replace the RCA Cables
Replacing the RCA cables is an effective way to know if the cables you're using are functional. Remove the RCA cables from the head unit and remember which cables go into which socket.
Take an extra pair of RCA cables and attach them to the head unit. Usually, there are red and white cable jacks that go into the red and white output sockets.
Turn on the stereo and see if it sounds okay. If yes, it means the old RCA cables are faulty or damaged and need replacement.
Method Three: Use A Digital Multimeter
Before I start, here are a few things you need to know about the RCA outputs. Each RCA cable features a tip and an outer ring known as a shield. The tip carries an audio signal while the shield protects it from unwanted interference.
Both these parts must be functioning optimally for the stereo to work. So, you must check the tip and shield with a digital multimeter. Here's how you can do it-
Take a multimeter and set the continuity mode. You can easily identify it from the 'sound/volume' sign on the device.
As you might know, every RCA cable has two tips at each end. Also, the multimeter has a red and black probe. Take the black probe of the multimeter and attach it to one end of the cable using the center tip.

Similarly, attach the red probe with the other tip of the RCA cable.
Now, turn on the car stereo and set the volume to the highest level. This way, the stereo will send a stronger signal which is easily detected by the multimeter.
If your RCA outputs are functional, the multimeter will beep and the voltage on the screen will go up and down.
When the multimeter displays no change in the voltage or makes no noises at all, it's a clear indication that the circuit is incomplete and something is wrong with the RCA outputs.
In case the tips are tested fine, you need to check the shields too. First, attach the multimeter probes to each outer ring (shield). Make sure the probe isn't touching the tips. For this, you can use tape to cover the upper portion of the probe.
Again, the multimeter will beep if the RCA outputs are okay. Otherwise, you must replace them with new ones.
Method Four: Test with A Phase Tester
With a phase tester, you can check the RCA sockets and cables separately. Below is the detailed process of using a phase tester-
1. Testing the RCA Sockets
A phase tester has three extensions including two cables containing alligator clips and one containing a jack. You need to locate the negative and positive posts of a car speaker and attach them to the alligator clips of the tester.
Now, take the jack and insert it in your head unit's RCA socket. Turn on the phase tester and your speakers will start making noises indicating a functional RCA socket. Do the same for all the sockets.
2. Testing the RCA Cables
Now, remove the jack from the socket. Take an RCA coupler and attach it to the jack of the phase tester.
No need to take off the alligator clips from the speaker as I am setting a connection among the head unit, phase tester, and the speaker.
Plug one end of your RCA cable into the coupler and attach another end to the head unit's RCA socket.
Turn on the phase tester and the speaker should make pulse noises if the cables are good. Repeat the process to test all the RCA cables.

Wrapping Up!
So, that was all about to test RCA output on head unit. I have made this guide as simple as possible so that you can test the RCA outputs without any expensive tools.
Yet, if you have any problem operating the multimeter or phase tester, refer to the owner's manual to see how the devices work. Don't hesitate to take your vehicle to an expert in case you need any kind of help testing the RCA output.
Relevant Guides And Tips:

I’m the founder of CarAudioHunt, where I share over a decade of hands-on experience in car audio—starting from my early days in a car garage in 2013. With a background in wiring, assembling, and tuning, I created this platform to offer practical guides, expert tips, and unbiased product reviews for DIY car audio enthusiasts. My goal is to make CarAudioHunt the leading global resource for car audio knowledge, built on trust, quality, and real-world expertise.
