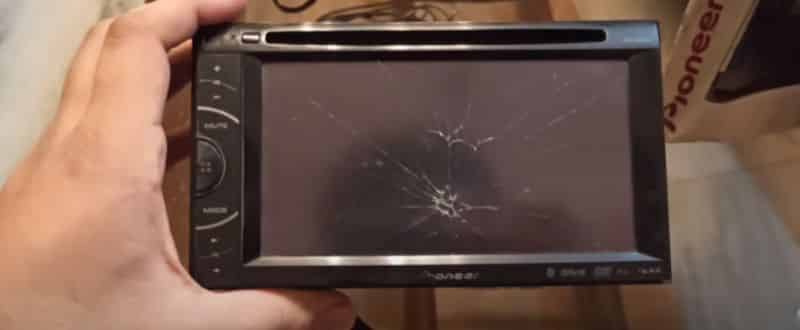
Car stereos with touchscreens are pretty handy; there's no doubt about that. However, you may face issues with it occasionally, which can be pretty annoying. Sometimes the screen becomes frozen; it shows software incompatibility, or the wiring can get messed up. But there's always a solution.
So now you may ask, what to do when the stereo's touch screen gives you hard times? Don't worry; this article entirely focuses on how to fix a touch screen car stereo. Hence, by the time you finish reading, you'll be an expert!
Let's get started, shall we?
In This Article
Possible Reasons Why Touchscreen Car Stereo Not Working
Multiple things can go wrong with your car stereos. But yes, as I have told you, there'll always be a solution. Some troubleshooting processes are simple; some are trickier. And that's nothing surprising.
When the head unit touch screen not working properly, there can be different reasons for it. Here is a list of things that can go wrong with your car stereo's screen.
- Wiring Issues
- Unresponsiveness
- Software Errors
- Broken Touch Screen
Fixing Wiring Issues
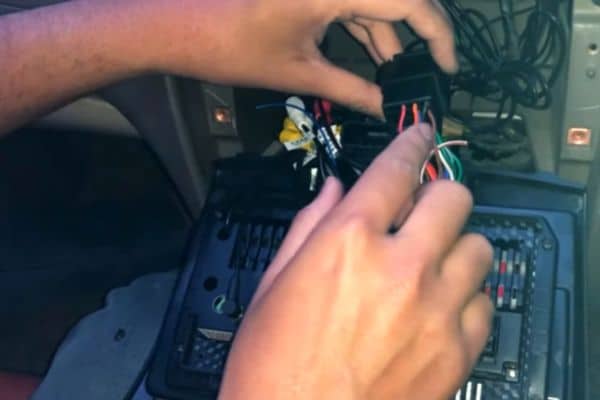
The touch screen won't work correctly when the wiring inside the head unit is messed up. However, you need to take out the stereo to check for this issue, which can be a bit hectic.
Step 1: Disconnect the Battery
If you attempt to fix the wires without disconnecting the battery, there'll be mass destruction! And you don't want that.
Therefore, locate your battery, take a socket wrench to loosen up the black wire from the negative terminal, and pull it off. After that, keep the black cable aside so it won't be able to touch the terminal again.
You can check out if the lighting of your car is on or not. If the lights aren't working, you can proceed to the next step.

Step 2: Remove the Stereo
You'll need a DIN tool or a hand wrench to remove your car stereo. If the head unit is clipped, you can use the DIN tools to remove it from the socket. And for the bolted stereo, utilize your hand wrench to remove the bolts one by one.
When the head unit is loosened up, you'll see the wiring inside the system. A plastic clip will tell you about the number of wires going into the stereo. Now, detach the wires from the stereo head so you can attach them properly.
Final Step: Rewire the Stereo
If you have the stereo's original instruction manual, go through it to understand the wiring system. The manual has a diagram that'll tell you which cable goes where.
If you've lost the book, you can get a wiring harness clip adaptor. It'll let you know how to connect the wires and make the sound system active again.
The adaptors can be ordered online, or you can get them from any nearby automobile store. If the car stereo touch screen not working for bad wiring, you can solve the dilemma this way.
Fixing Unresponsiveness Touchscreen Car Stereo
One of the most common problems you can face is the car stereo touch screen not responding. But you can get rid of this issue with some simple tricks, so let's get into that part.
Step 1: Go for a Reboot
Yes, the first thing you need to do is to reboot the head unit when the screen is frozen. Most stereos can be rebooted by pressing the power button for a few seconds. If this method doesn't work, go through the user manual for the correct information.
Step 2: Reset the System
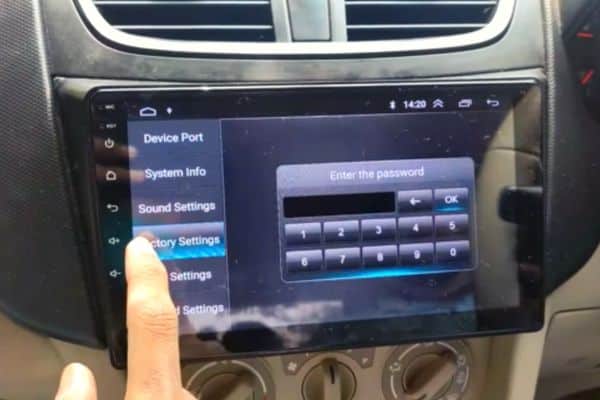
When you're done rebooting, the screen might get fixed. But if it doesn't, you need to perform a factory reset which is easier than you think.
Hold the power button for 8-10 seconds to execute this process. And then, a menu will pop up on the screen, and you need to choose the "Factory Reset" option. After that, wait a few seconds or minutes for the stereo to finish the task.
However, your previous settings and data will be gone if the stereo goes through a factory reset. So make sure you've saved everything you need.
Resetting the whole system often solves the issue. Well, that's a relief!
Fixing Touchscreen Car Stereo's Software Errors
Your car stereo depends on software to run. Hence, if the software isn't functioning properly, the screen won't work. And here's how you can fix this.
Step 1: Check for Updates
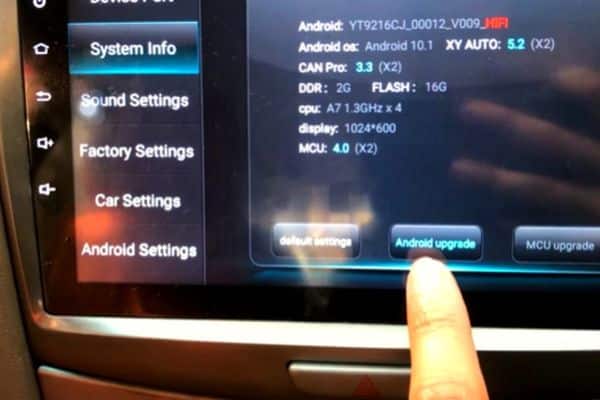
Just like your other smart devices, your stereo needs to be upgraded. Thus, when the head unit touch screen is not working, maybe the software hasn't been updated. To find out, go to the "About" section on the system's menu, and you'll see which version is currently installed.
Step 2: Update the Software
You'll find the instruction in the manual book if your car has a company-fitted sound unit. All you need is a laptop with an internet connection to download and install the latest software version.
But when it comes to aftermarket stereos, you need to do this procedure manually. In that scenario, you have to access the settings menu of your stereo, and click on "Software Update." And you'll be done in a few minutes.
Well, if the stereo isn't an android, go to the manufacturer's website for a manual upgrade. There'll be instructions on the site on updating the firmware so you won't face any complications.
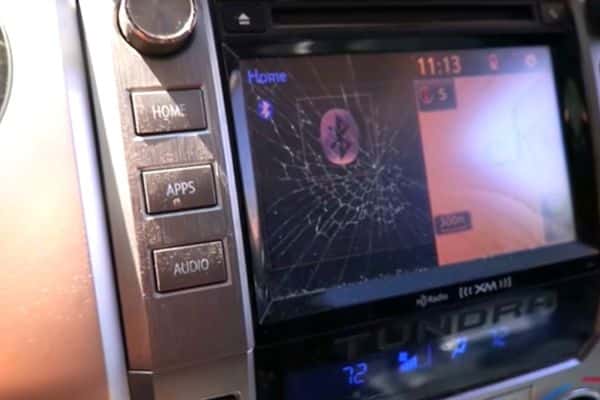
Fixing Broken Touch Screen Protector
It doesn't matter if you're using single or double DIN; touch screens aren't invincible.
The screen can get broken for many reasons, and you can replace it if you want.
And this is how you fix cracked touch screen car stereo.
Tools You Need:
- Screwdrivers
- Clean Cloth
- Panel remover
- Screen Cleaner
- A new screen protector
- Protective gloves
- Double-sided tape
Step 1: Remove the Stereo
First of all, wear protective gloves to keep your hands safe from injuries as you're about to remove a broken screen.
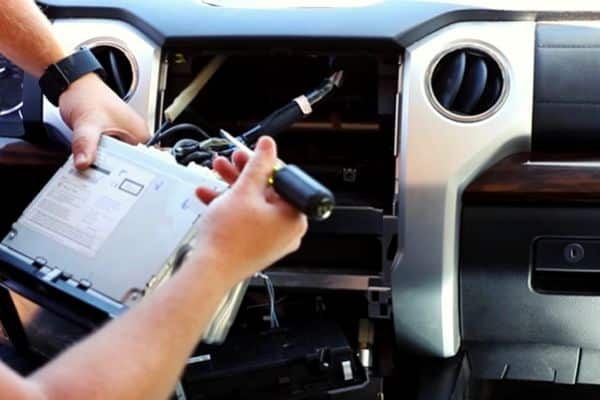
Then, take the panel remover and take out the panel from the head unit. When this part is uplifted, you'll see the screws.
Now, use your screwdrivers and gently remove the rivets. It'll loosen up the stereo. After that, pull the unit out and remove the wiring carefully.
When you detach the panel, the chassis will be wide open. And you'll see the wires attached to the motherboard.
Step 2: Disconnect the Wires
Now that you see the wiring system, detach them one by one from the motherboard. You can record the process to make things easier during the rewiring session.
After disconnecting the wires, you can start working on the broken screen protector.
Final Step: Install a New Screen Protector
The manufacturers use glue to attach the touchscreen protector to the LCD. You can use an LCD cleaner to loosen up the glue. When the protector is out, the actual display will be exposed. Now you can use the double-sided tapes to attach the new protector. That's it; you're done with this task!
Precautions To Follow While Removing the Car Stereo
For troubleshooting your car stereo, you may need to remove it if necessary. And while doing that, you must follow some safety rules to avoid unpleasant situations.
Here're the things you need to keep in mind.
- Always make sure the car's battery is disconnected. If not, you'll get an electric shock when the wiring is exposed.
- After taking the head unit out, try to handle it with proper care. Dropping it may cause irreparable damage, and you'll have to buy a brand-new system.
- Don't pull out the stereo hard and fast without detaching the cables. If the motherboard is damaged, you can say goodbye to your stereo.
FAQs
Can I Use a Stylus to operate my car stereo?
Yes, if your android car stereo supports a stylus, you can use this for operating the system. This way, you can avoid touching the screen with cold or sweaty hands. Means your stereo screen won't be vulnerable to unresponsiveness or greasy smudges.
What should I use to clean my car stereo?
You can get an LCD cleaner kit with a cleaning solution, microfiber cloth, and other tools. With this, you can keep the screen clean from grease, spots, and fingerprints.
How do I test the stereo's touch screen?
Here're a few ways to test the touch screen.
- Swipe your fingers across the screen to see any response.
- Press any option on the Settings menu and wait for actions.
- If touching the screen isn't working, get a stylus and try to select options with it.
Final Verdict
So here is everything you need to know how to fix a touch screen car stereo. As I have explained the procedures in detail, you're less likely to face any hassle while troubleshooting.
However, you can reach professionals if you're not into DIY fixes. There's always a solution; keep that in mind.
Check Relevant Guide & Tips:
