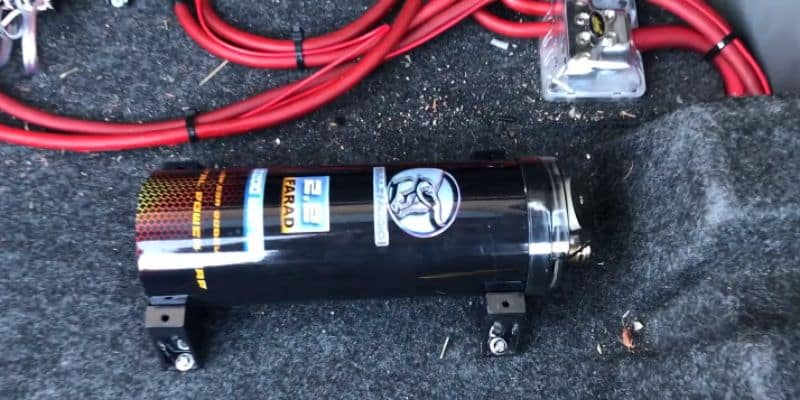
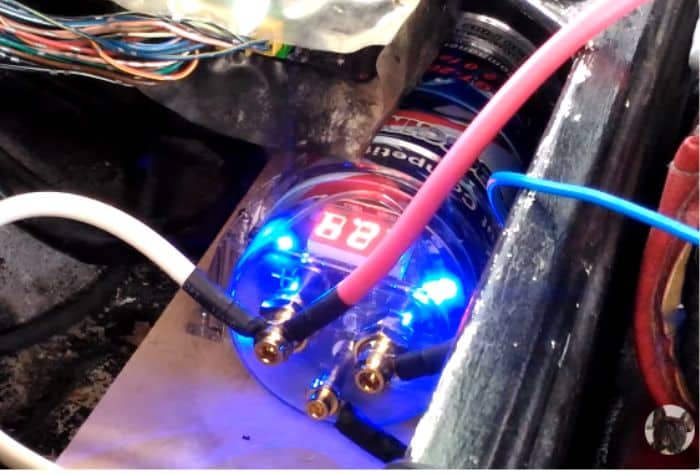
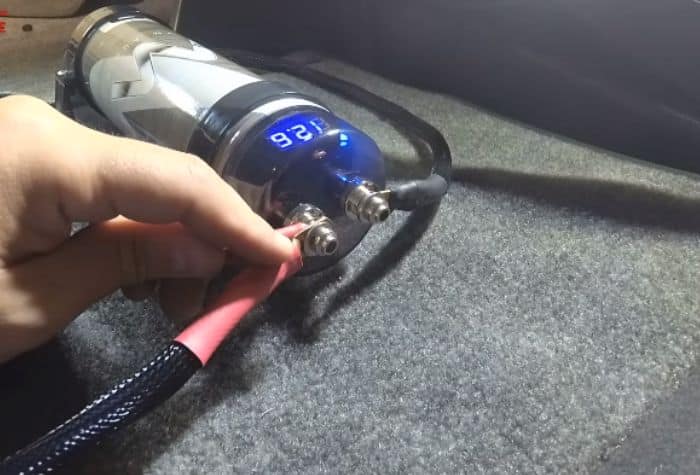
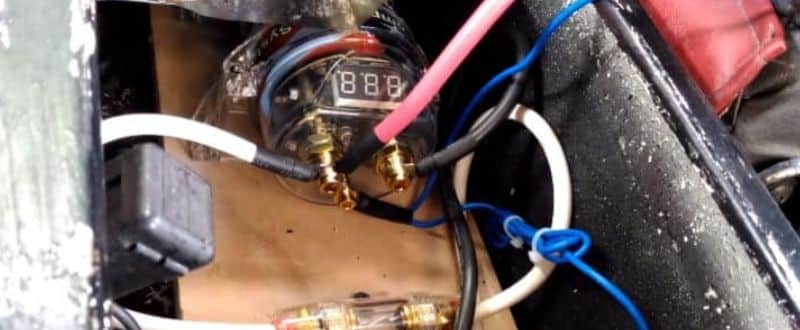
Are you stressing over how to install car audio capacitor, or can you even do it yourself?
Capacitors are becoming a go-to for car enthusiasts who want to have a steady flow of power while using the audio system. These capacitors can greatly improve the performance of your car’s audio and enhance your experience. And the best part is that you can install a capacitor by yourself without any expert help.
This article will delve deep into installing a capacitor in your car's audio system by breaking down the process into simple steps.
Let’s dive into my step-by-step guide.
In This Article
- 2 Steps to Follow Before the Installation
- 9 Steps to Hook Up The Car Audio Capacitor
- Step 1: Disconnect the Existing Battery
- Step 2: Make Your Capacitor Mounted
- Step 3: Put the Fuse and Distribution Block in Place
- Step 4: Charge up Your Capacitor
- Step 5: Connect Your Capacitor’s Terminals
- Step 6: Attach The Capacitor’s Remote Turn-On Wire
- Step 7: Put The Cap And Mounting Straps
- Step 8: Reconnect the Ground Terminal of Your Battery
- Step 9: Check If Everything Works Fine
- Bonus Tips for You
- Frequently Asked Questions (FAQs)
- Way Forward
2 Steps to Follow Before the Installation
Before diving into installation, it's important to know why a car audio capacitor matters. If you notice your headlights dimming when your bass hits hard, or your audio system struggles during heavy bass notes, a capacitor can help stabilize voltage flow. This not only protects your electrical system but also ensures consistent sound quality. Let's break down exactly how to install one the right way!
Step 1: Get the Necessary Tools
You will need the following tools other than my star of the show, the capacitor itself:
- Additional Wirings: As most capacitors don’t come with extra wires, you should manage wires to provide stable connections.
- Screwdriver: Using the screwdriver will let you tighten or loosen the screws. You will need it during mounting the capacitor as well.
- Multimeter: This device will help you measure the voltage while charging your capacitor. In case you don’t have a multimeter, you can opt for a voltmeter too.
- Inline Fuse Holder: These wire-mounted holders will ensure connection in a circuit by protecting the specific lines from any faulty event.
- Distribution Block: It helps distribute electrical circuits from one input point to several devices without much wire required.
- Resistor: The resistor is a must to ensure safety while charging your capacitor.
Mounting Strap: This strap comes in handy to put the capacitor in place.
Step 2: Run the Precautionary Check
You need to physically inspect the capacitor before installing it to check if there are any signs of damage or leakage. While checking the capacitor, make sure that it is in a discharged condition to avoid an unexpected situation. It’s also necessary for you to check the tools, like wire, fuse, etc., to see if they are working fine.
Thinking about installing a car audio capacitor? Good call! If you've ever noticed your headlights dimming when the bass drops or your system struggling during intense beats, you're not alone. A capacitor can help smooth out those power demands, giving you more consistent performance and protecting your car's electrical system. Let's dive into everything you need to know to get it installed the right way!
9 Steps to Hook Up The Car Audio Capacitor
I will now guide you through how to set up the capacitor in your car audio by following simple steps one by one. The steps are as follows:

Step 1: Disconnect the Existing Battery
The first step is to disconnect your car's audio battery by doing so from the ground terminal. If there is a capacitor already, you should discharge it safely so as not to get shocked.
Step 2: Make Your Capacitor Mounted
You will have to next mount your capacitor in a preferable feasible position, which is away from passenger seats. Moreover, the best practice is to put the capacitor close to the components of your car audio that you think can provide more productive output.
For example, if you are having a hassle getting power to your amplifier. In that case, you should mount your capacitor near the amplifier to help the amplifier get a better power supply with minimal loss.

Step 3: Put the Fuse and Distribution Block in Place
Before I go into this step, you need to see if the power wire from your capacitor has a fuse installed. If yes, then you can skip this step and go to the next one.
Otherwise, you need to find an optimum place to put your inline fuse holder. It’s preferable to place the fuse holder less than 6” from your car’s battery. Make sure that the fuse holder is not hanging loose or bouncing around. For that, you can tie up the fuse holder to the place you have chosen by using a screw.
You should also put the distribution block somewhere close to the battery or the tool you want to power with the new capacitor.
Step 4: Charge up Your Capacitor
Now, it is the time to bring the focus to the star of the show - the capacitor. You have to first charge up the capacitor by using a resistor.
Hook up the multimeter or voltmeter on top of the positive terminal of the capacitor so that you can see the voltage in real-time.

You’ll have to put the resistor on one side through the power wire and connect the other side to the capacitor. After starting to charge the capacitor, it is generally recommended to keep it on for 4 minutes or so until the voltage hits 6 Volts. When the car is up, the multimeter or voltmeter hooked on the capacitor will show around 12 volts on the screen.
Step 5: Connect Your Capacitor’s Terminals
The capacitor has 2 terminals: The positive and the negative terminal.
First, let’s look into connecting up the positive terminal of your capacitor. You should place one end of the wire to the positive terminal and then take it to the positive terminal of the tool you’re powering up, be it the battery, amplifier, or anything else.
You can make this connection by passing the wire through a distribution block or even by directly connecting them.
Then, for the negative terminal, you need to set the wire on this terminal and then connect the other end of the wire to the chassis ground. Tight the connection and make sure that it can stay electrically conducting. It is also seen that the final connection gets coated with silicone caulk to avoid corrosion.

Step 6: Attach The Capacitor’s Remote Turn-On Wire
The capacitor having an internal meter will come with a third wire as well. This third wire is the remote turn-on wire. It does an efficient task of not letting power flow through to the meter whenever your car is not on.
After finding the remote turn-on wire behind the stereo, connect this wire to the 12-volt switch power source in your car audio system. Examples of such switch power sources are the ignition switch or amplifier.
Step 7: Put The Cap And Mounting Straps
To make sure the capacitor stays in its position safely, put an end cap on it and then place the mounting straps on it. You will have to place the mounting straps on the top of the capacitor and attach it on both sides of the capacitor. In this way, you won't have to worry about your capacitor staying in its position.
Step 8: Reconnect the Ground Terminal of Your Battery
Now that you’ve installed the capacitor in your car audio system and enclosed it with the mounting straps, you can reconnect the battery ground terminal that you disconnected in the first place. Reconnecting the battery will restore power to your car audio system.
Step 9: Check If Everything Works Fine
In most cases, all your components, including the capacitor, should be working fine now. But isn’t it better to be safe now than sorry later? So after turning the audio system on, give a thorough check if everything is working fine or not.
Bonus Tips for You
Since you’ve come this long way, I have a few tips (which are mainly concerned with safety) for you:
- Make sure that every connection, specifically the ones at the terminals, is tightened.
- Double-check before connecting positive and negative terminals.
- Ensure solid grounding for the capacitor by cleaning the chosen ground point to remove any rust or paint that may obstruct conductivity.
Frequently Asked Questions (FAQs)
Can I use a car audio capacitor without an amplifier?
Not really. Capacitors are designed to work with amplifiers, delivering quick bursts of energy when your system needs it most. Without an amp, a capacitor won't do much good.
What size capacitor do I need for my system?
The general rule is simple: 1 Farad of capacitance for every 1,000 watts RMS your amp puts out. Still unsure? Check out my Capacitor Size Guide for Car Audio to get the perfect match.
Will installing a capacitor make my music sound better?
It won’t magically make your tunes crisper, but it will help maintain stable power to your amp, preventing those annoying light flickers and performance dips during heavy bass moments.
Is it safe to install a capacitor myself?
Absolutely! if you’re careful. Always disconnect the battery before starting, wear safety gloves, and take your time. If you're unsure at any step, it's wise to consult a professional installer.
Way Forward
Installing a car audio capacitor can greatly enhance your audio system's performance with smoother and more powerful sound. This installation process might seem like a daunting task at the beginning. But by following the proper steps and precautions as I’ve outlined in this step-by-step guide, you can go through a successful installation process.
I hope you have a safe and smooth experience while installing the capacitor in your car audio system. After doing so, an experience of satisfying car journeys with great audio awaits!
Still wondering which capacitor is right for you? Check out our full Best Car Audio Capacitor Guide. Or drop a comment below, we’d love to hear about your setup and help you fine-tune it!
Similar Guides You Might Read:

