If you have an old car stereo, you should check whether it's fully functional before throwing it away. In that case, you'll only need a power source like a 12V battery to power the stereo. To avoid damaging the stereo or the battery, you must know how to wire car stereo to 12V battery.
Yes, it's possible to turn on your car stereo using a 12V volt battery. For this, you need to hook up the positive wires of your car stereo to the positive terminal of the 12V battery. Similarly, the negative wires will be attached to the battery's negative terminal.
Once the connection is established, you can turn on the stereo and see if it works. Although this short description is straightforward, you'll need to dive deep into the details for a secure connection.
So, allow me to fill you in with all the necessary details of hooking your car stereo up with a 12V battery. Let's get started.
In This Article
Can You Hook Up Car Stereo Directly to Battery?
Yes, you can directly connect any car stereo to a battery as long as you know the correct process. For a typical car stereo, a 12V battery providing at least 1 amperage is enough to turn on the stereo. However, you'll need much more power to run the stereo on a regular basis.
The battery can be a lithium car stereo battery or a lead acid battery. Here, you should know that a low-quality battery will provide distorted audio. In case there's no fuse or relay switch installed, you won't be able to disconnect the power source.
Also, wiring car stereo direct to battery will cause it to drain way faster than regular. Keep all these in mind before you establish a direct connection.
Wiring Car Stereo to Battery - Let's Collect the Required Items
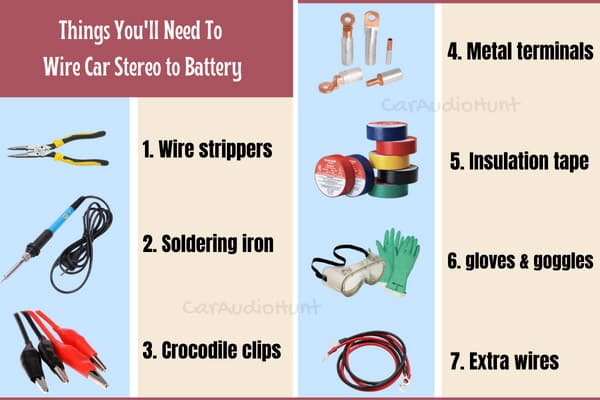
First things first, you'll need to collect all the necessary tools and devices before you learn to hook up a car stereo to a battery. Get your car stereo separated from the vehicle and a 12V battery for car stereo power.
- Wire strippers or needle-nose pliers
- Soldering iron
- Crocodile clips
- Metal terminals
- Insulation tape
- Safety gloves and goggles
- Extra wires (optional)

Security Measures - Check Out the Wiring Loom Harness
To keep the stereo safe from burnings and short circuits, you must understand its wiring system first. Also, keeping yourself safe from vibrations and accidental shocks is essential.
For this, wear safety gloves made of rubber. You can also wear safety goggles in case sparks are produced while working. Place two metal terminals on the battery posts so that vibrations don't dismantle the wire connections.
As for the wiring loom harness, you should check out the wiring diagram that comes with your car stereo. Don't worry if you can't find the provided diagram as most vehicle stereos have the same wire colors. This is universal for most cars and doesn't change with the manufacturer.
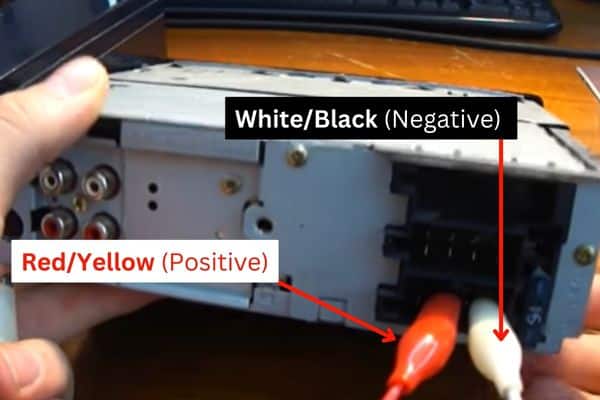
You can find the wiring loom harness on the back of your car stereo. Identify the black, red, and yellow wires are separate them from the remaining wires.

Remember, the red and yellow wires are the positive ones and the black one is the ground or negative wire.
Connect Car Stereo To Battery - The Easiest Method
Now that I am done with the basics, let's learn how to connect car stereo to battery in the easiest method. Don't forget to follow the additional tips for proper installation.
Got all the tools and devices in hand? Then here's how to wire a car stereo directly to the battery:
Prepare the Wires
As mentioned, you'll need the red, black, and yellow wires only to hook up the battery. Use a wire stripper or needle-nose pliers to strip off the wire insulation half an inch from each wire.
Now, you have two options. First, you can pair up the red and yellow wires and connect them to the battery together. Second, you can hook them up with the battery separately. I recommend going for the first option as it's much easier and more convenient.
So, take the exposed ends of the red and yellow wire and use your hands to twist them together. After that, use the soldering iron to secure the pairing.
Tip: If you think the wires are too small to reach the battery, add some extra wires using the same process. Use insulation tape to cover the exposed wires.
Hook the Wires with Battery Terminals
No matter what battery you're using, it should at least be a 12V battery. The battery should have (+) and (-) markings on its posts.
If there are no such indications, use a multimeter or voltmeter to check which side is negative and which one is positive.
Connect the positive terminal of the battery to the red and yellow pair. Use a crocodile clip for added safety. Take the black wire of the stereo harness and hook it up with the negative terminal of the battery.
Tip: Always use a fuse or circuit breaker to make sure your stereo is safe even if you hook up the wrong wire to the wrong terminal.
Turn the Stereo On
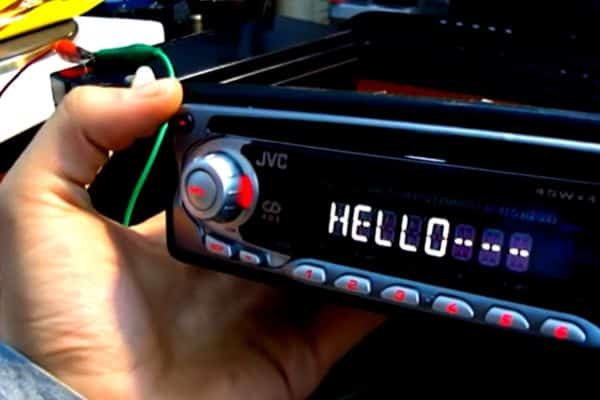
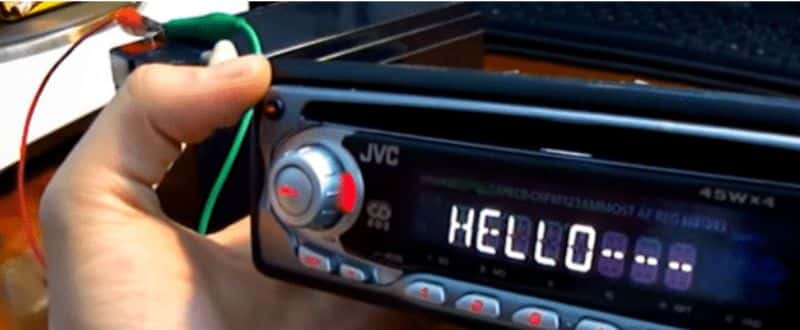
Before you proceed, thoroughly check all the wires and connections. When done, turn on your car stereo and see if it works.
In case the stereo doesn't turn on, charge the battery and try again. Also, inspect the stereo switches and buttons.

Wrapping Up!
So, that was all about to wire car stereo to 12V battery. The process is simple and requires only a few minutes. If you follow the instructions properly, you can turn on the stereo without any issues.
However, in case you don't have any basic knowledge about car stereo wires and connections, you can ask for help from a professional stereo installer.
Related Blog You May Check-out:

