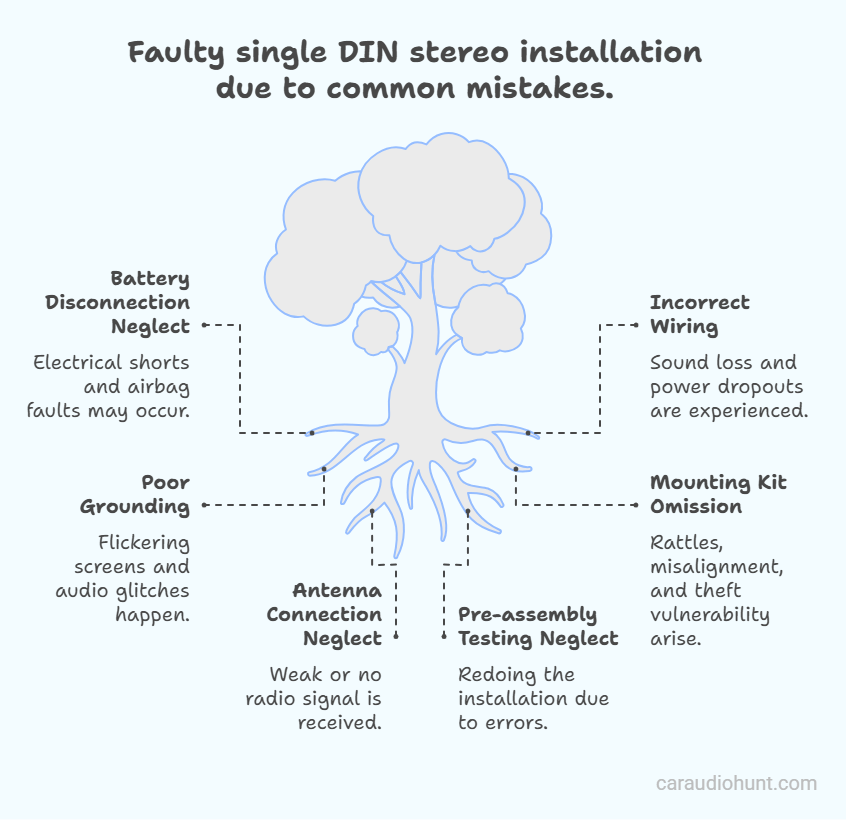
I’ve helped many car owners upgrade their head units. A properly installed single DIN stereo can make a real difference. But a few common mistakes can turn an upgrade into a hassle. In this article, I’ll cover the key single DIN stereo installation mistakes to avoid. Let’s first look at a visual of the mistakes I’m going to identify, then dive into the details.

Faulty single DIN stereo installation due to common mistakes.
In This Article
- Mistake 1: Failing to Disconnect the Battery First
- Mistake 2: Incorrect or Lazy Wiring Connections
- Mistake 3: Poor Grounding
- Mistake 4: Skipping a Mounting Kit or Bracket
- Mistake 5: Ignoring Antenna Connections or Signal Boosters
- Mistake 6: Not Testing Before Reassembling the Dashboard
- Mistake 7: Overlooking Vehicle-Specific Installation Quirks
- Mistake 8: Overlooking Android Auto & CarPlay Integration
- Wrapping It Up: Avoid These Mistakes, Enjoy the Ride
Mistake 1: Failing to Disconnect the Battery First
Skipping this step is one of the most common and costly errors I’ve seen. I’ve dealt with blown fuses, electrical shorts, and even triggered airbag faults; all because someone didn’t take 30 seconds to disconnect the battery.
How to Do It Safely:
Before you touch any wiring, turn off the vehicle, pop the hood, and use an insulated wrench to disconnect the negative terminal. Wait a few minutes afterward to let any residual charge clear. It’s a simple step that can save you from serious electrical headaches.
Mistake 2: Incorrect or Lazy Wiring Connections
Bad wiring jobs are one of the top issues I end up fixing. Whether it’s loose connections or electrical tape instead of proper connectors, these shortcuts always lead to headaches like lost sound, power dropouts, or worse.
The Right Way to Handle Wiring:
Always use a vehicle-specific wiring harness or adapter. It not only makes the installation cleaner but also protects your factory wiring. If splicing is necessary, use crimp connectors or, better yet, solder with heat-shrink tubing. It takes a little more time but saves a lot of trouble down the line.
Mistake 3: Poor Grounding
One of the most frustrating issues I see is when someone replaces a perfectly good stereo, thinking it’s defective when in reality, the ground was the problem all along. Unstable grounds lead to flickering screens, audio glitches, and even total failure to power on.
How to Lock in a Solid Ground:
Always ground to bare metal—no paint, rust, or coatings. I use a ring terminal to make sure the connection stays tight. It’s a small detail that makes a huge difference in system stability.
And if you’re chasing noise issues through your RCA cables, don’t skip this guide: How to Ground RCA Cables to Car Stereo
Mistake 4: Skipping a Mounting Kit or Bracket
With wiring and grounding done, you'd think you're in the clear but poor mounting can undo it all. I’ve seen head units held in place with foam, zip ties, even glue. Not only does it look sloppy, but it creates rattles, alignment issues, and makes the stereo an easy target for theft.
How to Mount It Properly:
Always use a dash kit that’s made for your exact make and model. I stick with reliable brands like Metra or Scosche and double-check fitment using Crutchfield or vehicle-specific forums before install day. A proper bracket means a snug fit, clean finish, and no future headaches.
Mistake 5: Ignoring Antenna Connections or Signal Boosters
Everything may seem perfect until you turn on the radio and get static or silence. In my experience, weak or no signal after an install usually comes down to one simple thing: the antenna connection was missed, or the signal booster wasn’t powered up.
How to Get Your Signal Back:
Many modern vehicles require a powered antenna adapter, especially if the factory system used a signal amplifier. Always review your vehicle’s wiring diagram before the install. And if your reception still struggles, consider adding an amplified aftermarket antenna. A little prep here goes a long way in keeping your radio clear.
Mistake 6: Not Testing Before Reassembling the Dashboard
Sometimes everything looks great on the outside but things can go wrong where you can’t see. I’ve learned the hard way (and watched others do the same): putting the dash back together before testing the system is a gamble. If something’s off, you’ll end up tearing it apart all over again. It’s a frustrating waste of time and energy.
How to Save Yourself the Trouble:
Before snapping panels back into place, run through this quick checklist:
- Head unit powers up
- All speakers sound clear
- Bluetooth and apps pair and work
- Buttons and display respond properly
- Radio reception is solid
Mistake 7: Overlooking Vehicle-Specific Installation Quirks
Don’t assume every vehicle is the same. Even after countless installs, I’ve been caught off guard by one hidden clip, a sensor wire tucked behind the dash, or a trim piece that didn’t come off the way I expected. These small quirks can turn a straightforward job into a frustrating mess or worse, damage your interior.
Do Your Homework First:
Before touching a single panel, I always dig through forums, service manuals, and YouTube tutorials for the exact make and model. Chances are, someone’s done it before and shared what to watch out for. That extra 10 minutes of research could save you hours of repair or a replacement part.
Mistake 8: Overlooking Android Auto & CarPlay Integration
Here’s one last mistake that’s easy to overlook until your smart features start acting up.
Upgrading to Android Auto or Apple CarPlay can seem simple, but in older vehicles, it’s rarely plug-and-play. I’ve seen issues with dash clearance, power delivery, and USB compatibility that derail an otherwise great install.
Tips for Smooth Integration:
Use high-quality USB extensions and route cables neatly behind the dash. When possible, repurpose the factory mic or USB ports to keep the setup looking clean and functional. A tidy, well-planned integration not only looks better it ensures your smart features work reliably every time you start the car.
Wrapping It Up: Avoid These Mistakes, Enjoy the Ride
These are the mistakes I see most often and the ones I’ve learned to avoid through years of hands-on experience. If you’re just getting started, take your time, plan your install carefully, and don’t hesitate to ask questions or look things up. And if something feels over your head, there’s no shame in calling in a pro. A clean, reliable install is always worth the extra effort.
Want More Guide On Car Stereo? Check Out These Articles:

