Are you looking to set up your car’s speaker? The first step is to make sure you know how to connect speaker wire to connectors.
But, don't worry! To make the installation process as easy as possible, I have broken down the process of using connectors for secured connection into 4 simple steps. Following the steps, you can be sure that your connections will last for years. Are you ready to start?
First, let’s begin by introducing popular connectors types.
Table of Contents
What Types of Speaker Wire Connectors Are There?
The speaker wires are the electrical cables in your car’s audio system that transfer sound from the amplifier to the speaker. These cables are connected to the audio source and speakers in the car by connectors, which provides a smooth and efficient flow of sound through the wires.
To select the right car speaker connectors, you need to know their types and uses. Some of the most frequently used audio connectors are: Bullet plugs, Spade Connectors, Banana Plugs, RCA connectors, etc.
If you look into more advanced connectors, you will see optical connectors, XLR connectors, Speakon connectors, and so on, which are used in high-end car audio systems. If you want to have a more elaborated idea on speaker wire connectors, then don’t forget to check out our speaker wire connector guide.
What Tools Will You Need?
You should take extra caution if this is your first time working with wires. To reduce the possibility of burning yourself or getting electrocuted, wear gloves and work in a well-ventilated area to release any hazardous gases. Now, grab the required tools to get started!
- Speaker wire connectors
- Car audio system components like amplifiers, speakers and head units.
- Crimping tool
- Screwdriver
4 Steps Guide to Connect Speaker Wires to the Connectors
Once you have all the necessary materials, it’s time to start working!
Step 1: Prepare Your Speaker Wires
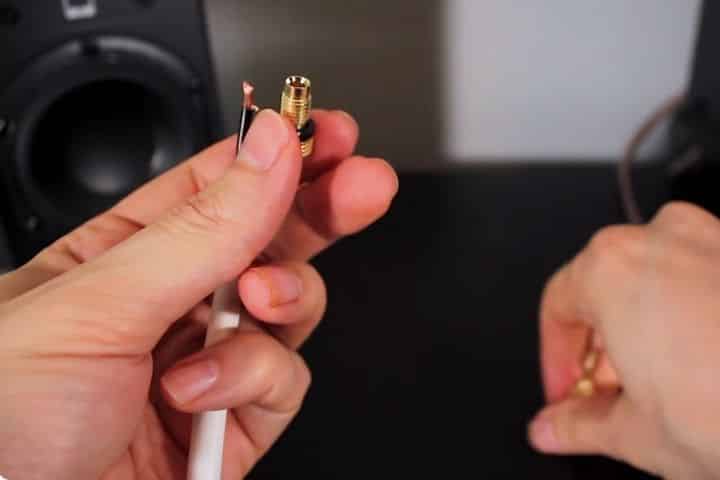
It is important to prepare your speaker wires before installation. First things first, trim the end of the cable of any exposed copper wire so that no copper wire sticks out. With the wire strippers, cut around ½ inch from the end of insulation from either end of the wire, leaving the bare wire underneath.

Once your speaker wire is properly stranded, clamp the strands together at the stripped ends and twist them to prevent fraying.
Step 2: Attach the Wire to the Connector
After preparing the wire, your next step is to attach the stripped end of the wire to the metal part of the connector.
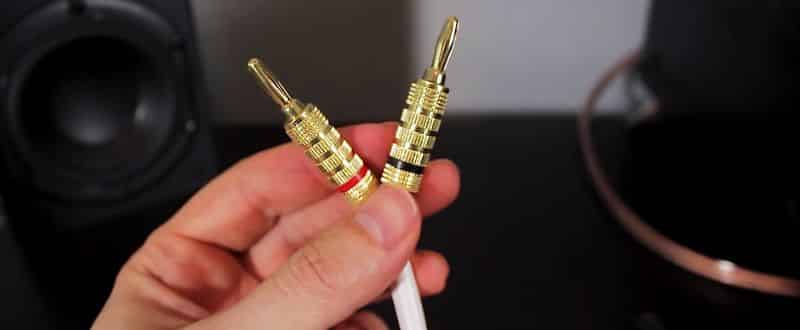
For bullet and spade connectors, you can use the crimping tool to crimp the connector onto the wire. For the banana plugs, detach the collar. Next, carefully insert the stripped end of the speaker wire through the opening of the banana plug. Repeat the same step on the other end of the speaker wire.

You can also take some solder and a soldering iron for connecting the connectors. This is called the soldering method. You have to apply a tiny amount of solder to both the stripped wire end and the metal part of the connector. Heat both elements using a soldering iron, until the solder melts, creating a strong connection.
Finally, insulate the connection with electrical tape or heat-shrink tubing to shield it from external contact.
Step 3: Connect to the Car Amplifier
It's time to connect to the amplifier of the car’s audio system now that the connectors are attached.
Firstly, find the speaker terminals on your car's audio system. Two independent cables that connect to the positive and negative connectors on the amplifier make up a speaker wire.
For bullet plugs, spade connectors, or banana plugs:
- Install the speaker wire connections by connecting them to the proper amplifier terminals. It is better not to depend on the colour of the wires to avoid confusion; instead, watch for signs.
- Attach the wire with the positive connector to the corresponding positive terminal and the wire with the negative connector to the negative terminal. If using spade connectors, tighten the screws to secure them in place. Lastly, make sure that the connection is strong and tight.
In the same way, you can also easily understand how to connect the RCA connector to the speaker wire. Preamplified signals are usually connected to the amplifier with RCA connectors. Make sure your AV receiver or amplifier has RCA preamp outputs for this purpose. Lastly, connect it to the preamp outputs of the amplifier.
Step 4: Check the connection if it's jammin'!
Once you have completed the above steps, the final step is to test the setup. To make sure the audio system is working properly, turn it on. Turn some music on low volume adjust the gain until the sound is free of distortions. Recheck the wiring in case of any troubleshooting.
Wrapping Up
If you are tense about connecting speaker wires to connectors, this process gives you a simple flow for the installation of speaker wires and the connectors without being a tech expert. Hold the speaker wires along their route using clips or ties to prevent them from tangling around or getting caught on anything inside the vehicle.
I really hope you have a safe and smooth experience while installing. Make sure to consult a professional installer in case you have any doubts about the specific wiring in your car.
Read Related Posts:
My passion for automotive mechanics began in my father’s garage. Today, I co-own a local car service agency and write for CarAudioHunt to help readers with car audio and vehicle upgrades. With years of hands-on experience, I offer expert guidance for both DIY enthusiasts and beginners.
