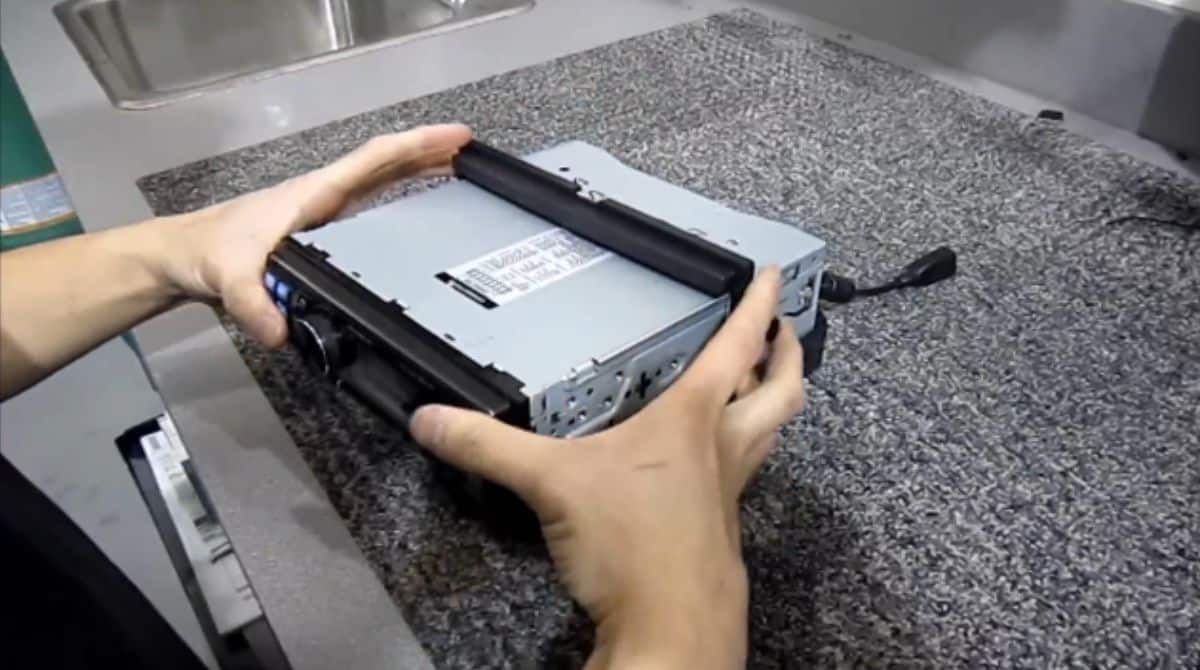
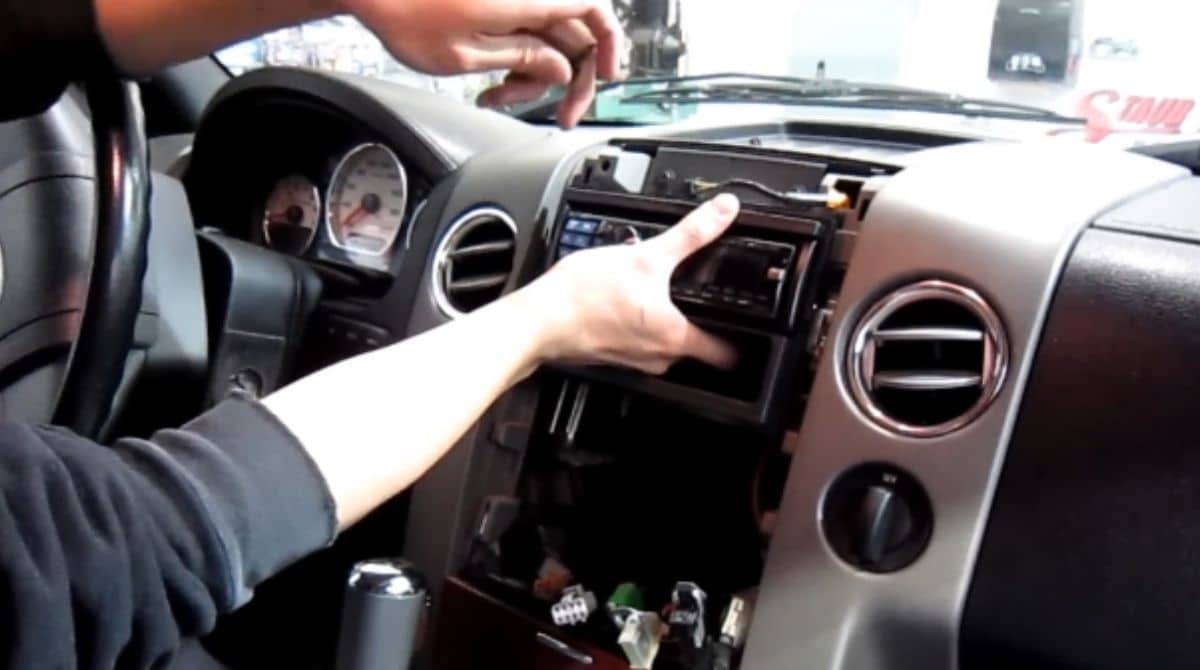
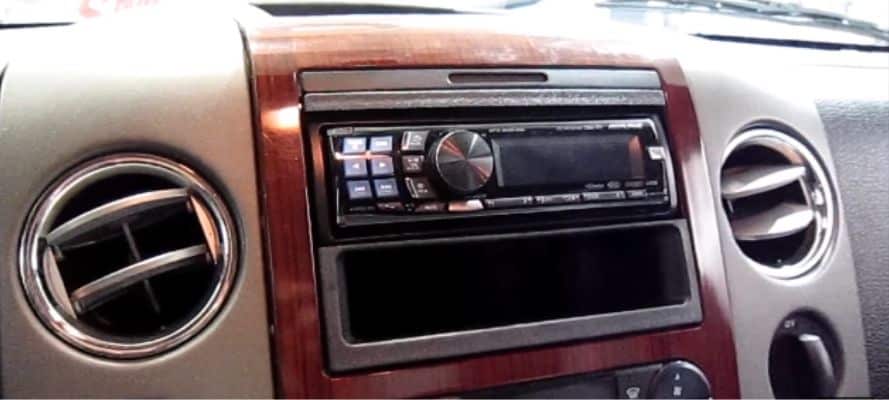
If you're considering changing your double DIN stereo for a single DIN unit, you're not alone. Many drivers choose to convert double DIN to single DIN for better dash space, simplified wiring, or cleaner customization. Plenty of car owners look to simplify their setup, free up dash space, or just install a more streamlined head unit. After doing plenty of these myself, I can tell you this conversion is absolutely possible with the right prep and parts.
This guide is for anyone who wants a practical guide. I’ll cover when this conversion makes sense, what tools you’ll need, what to avoid, and how to get it done cleanly the first time. Let's get into the first step.
In This Article
- Is It Safe and Advisable to Convert Double DIN to Single DIN?
- When Does It Make Sense to Convert?
- Pros and Cons of Converting Stereo DIN Size
- Gear You’ll Need to Convert It Right
- Step-by-Step: How to Convert Double DIN to Single DIN
- Vehicle Fit Considerations
- Common Mistakes to Avoid While Converting
- FAQs
- My Final Thoughts
Is It Safe and Advisable to Convert Double DIN to Single DIN?
Safety and reliability should be the first thing you evaluate before pulling your dash apart. Here’s what I recommend checking:
1. Vehicle layout: Some dashboards are installer-friendly, others aren’t. Older vehicles usually give you more room to work.
2. Trim and resale: Cutting or trimming factory panels can affect resale value if it’s not done cleanly.
3. Electronic integration: On newer vehicles, the stereo might be tied into HVAC or other controls. If that’s the case, relocation or additional modules may be necessary.
Keep in mind that, If your dash is modular and you’re not tied into a complicated electronics network, the conversion is straightforward with basic tools and the right dash kit.
When Does It Make Sense to Convert?
You don’t always need a big screen or flashy multimedia. Here’s when I recommend dropping down to a single DIN setup:
- Cost-conscious builds: Single DIN units are typically affordable and still sound great.
- Feature-rich compact stereos: Some premium models have tuning flexibility, strong Bluetooth performance, and solid build quality.
- Utility vehicles and custom builds: Going single DIN frees up space for CB radios, switches, or added storage.
Pros and Cons of Converting Stereo DIN Size
Here’s a quick overview of what you gain and what you give up.
Pros
Cons
Gear You’ll Need to Convert It Right
The right parts make the job easier and the outcome better. Here’s what I use during conversions:
Dash Kit and Adapter Frame
You’ll need a quality dash kit made for your car. I recommend Metra or Scosche. These include brackets, filler panels, and instructions specific to your vehicle.
Faceplate Filler
This fills the open space left by removing a double DIN unit. It’s usually a plastic trim that clips or screws into place for a factory-like finish.
Wiring and Tools
- A vehicle-specific stereo harness to avoid cutting factory wires
- Trim removal tools
- Stereo brackets or sleeves (included with most good single DIN units)
- Crimpers, wire strippers, heat shrink, and a multimeter for verification
Step-by-Step: How to Convert Double DIN to Single DIN
Here’s the process I follow:
Step 1: Disconnect the Battery
Start by opening your hood and locating the battery. Use a wrench to disconnect the negative terminal. This cuts power to the system and protects both you and the electronics during the install. Never skip this step. It’s basic safety in any electrical job.
Step 2: Remove the Factory Stereo
Carefully remove the trim or dash bezel surrounding the stereo using plastic trim removal tools. Avoid using metal tools to prevent scratches. Once the bezel is off, unscrew the mounting brackets or bolts that hold the factory stereo in place. Gently pull the stereo outward and disconnect all wiring harnesses, antenna connections, and any interface modules attached to the unit.
Step 3: Install the Dash Kit and Harness
Now prepare your new dash kit. Test-fit the mounting brackets and faceplate to make sure everything lines up with your dashboard. Then take your stereo wiring harness and connect it to the vehicle-specific adapter. Match the wires by color, crimp or solder each connection securely, and cover them with heat shrink or electrical tape. Make sure the ground wire has a solid connection to a bare-metal chassis point. This step is where clean wiring makes all the difference.

Step 4: Fit the Single DIN Unit
Slide your single DIN stereo into the metal sleeve or vehicle bracket that comes with your dash kit. The unit should click or lock into place, but you can use the supplied screws for extra support if needed. Align the trim ring or faceplate so it sits flush with the dash, and double-check the fit before tightening everything down.

Step 5: Reconnect and Test
Reconnect the negative battery terminal and turn on your ignition. Power up the stereo and go through every function: radio reception, Bluetooth pairing, USB ports, speaker output, and steering wheel controls if retained. If anything isn’t working, check your wiring connections, ground, and fuse box before closing up the dash.
Note: If you face anything hassling about a single DIN setup, you may follow this dedicated single DIN installation article where I explored everything about installation, wiring, and more.
Vehicle Fit Considerations
Some vehicles are naturally easier than others. Here’s what I look for:
Easier Fits:
- Older vehicles with separate stereo and HVAC layouts
- Minimal factory integration
May Need Extra Modules:
- Vehicles with CAN bus systems
- Integrated nav or climate control units
- Luxury models with touch panels tied to the stereo
Important! Use a compatibility tool from trusted source to check what you need before buying.
Common Mistakes to Avoid While Converting
Avoid these mistakes that I’ve seen (and fixed) over the years:
- Cheap dash kits: Poor fit, weak clips, and off-color plastic
- Wrong harness: Double-check compatibility with your exact vehicle trim
- No ground verification: Bad grounding causes electrical noise or failure to power on
- Rushed wiring: Sloppy wiring can short components or cause problems down the line
Note: Whether you convert double DIN to single, these single DIN installation mistakes must also be checked to ensure your setup is ok.
FAQs
Can I do this without a dash kit?
Technically yes, but it rarely looks clean or stays stable. Use a proper kit.
Can I reverse the conversion later?
Yes, if you keep the original parts and avoid permanent cutting.
How much does a conversion kit cost?
Typically between $15 and $50, depending on vehicle and brand.
Do I lose factory functions like steering wheel controls?
Only if you skip the adapter. Use modules like Axxess or iDatalink to retain features.
Should I hire a pro?
If your dash is complicated or you’re not confident with wiring, it’s worth paying a certified installer.
My Final Thoughts
Converting from a double DIN to a single DIN can absolutely make sense depending on your goals. With the right kit, clean wiring, and attention to detail, the result can look just as polished as a factory install.
If you're aiming for simplicity, better airflow, or making room for more accessories on your dash, this conversion is worth considering. Just plan ahead, use quality parts, and double-check your wiring. It’s the small things that separate a clean install from one that creates headaches later.
Read Related Resources:

